Automated Processing
Apply special handling rules automatically when orders move from Pending to Processing.
Product Classes (also called “Procedures” in the interface) let you group SKUs together and apply special handling rules during order processing. You can use procedures to control how orders are packed, add special services, apply weight limits, and more.
Apply special handling rules automatically when orders move from Pending to Processing.
Organize related SKUs into logical groups for easier management and special handling.
Set up packaging rules, weight limits, label requirements, and no-mix policies per procedure.
Track which products require special services and bill accordingly.
Navigate to Catalog
Go to Inventory from the main menu.
Click Procedure Button
In the Catalog toolbar, click the Procedure button. This opens the procedures interface in a new tab.
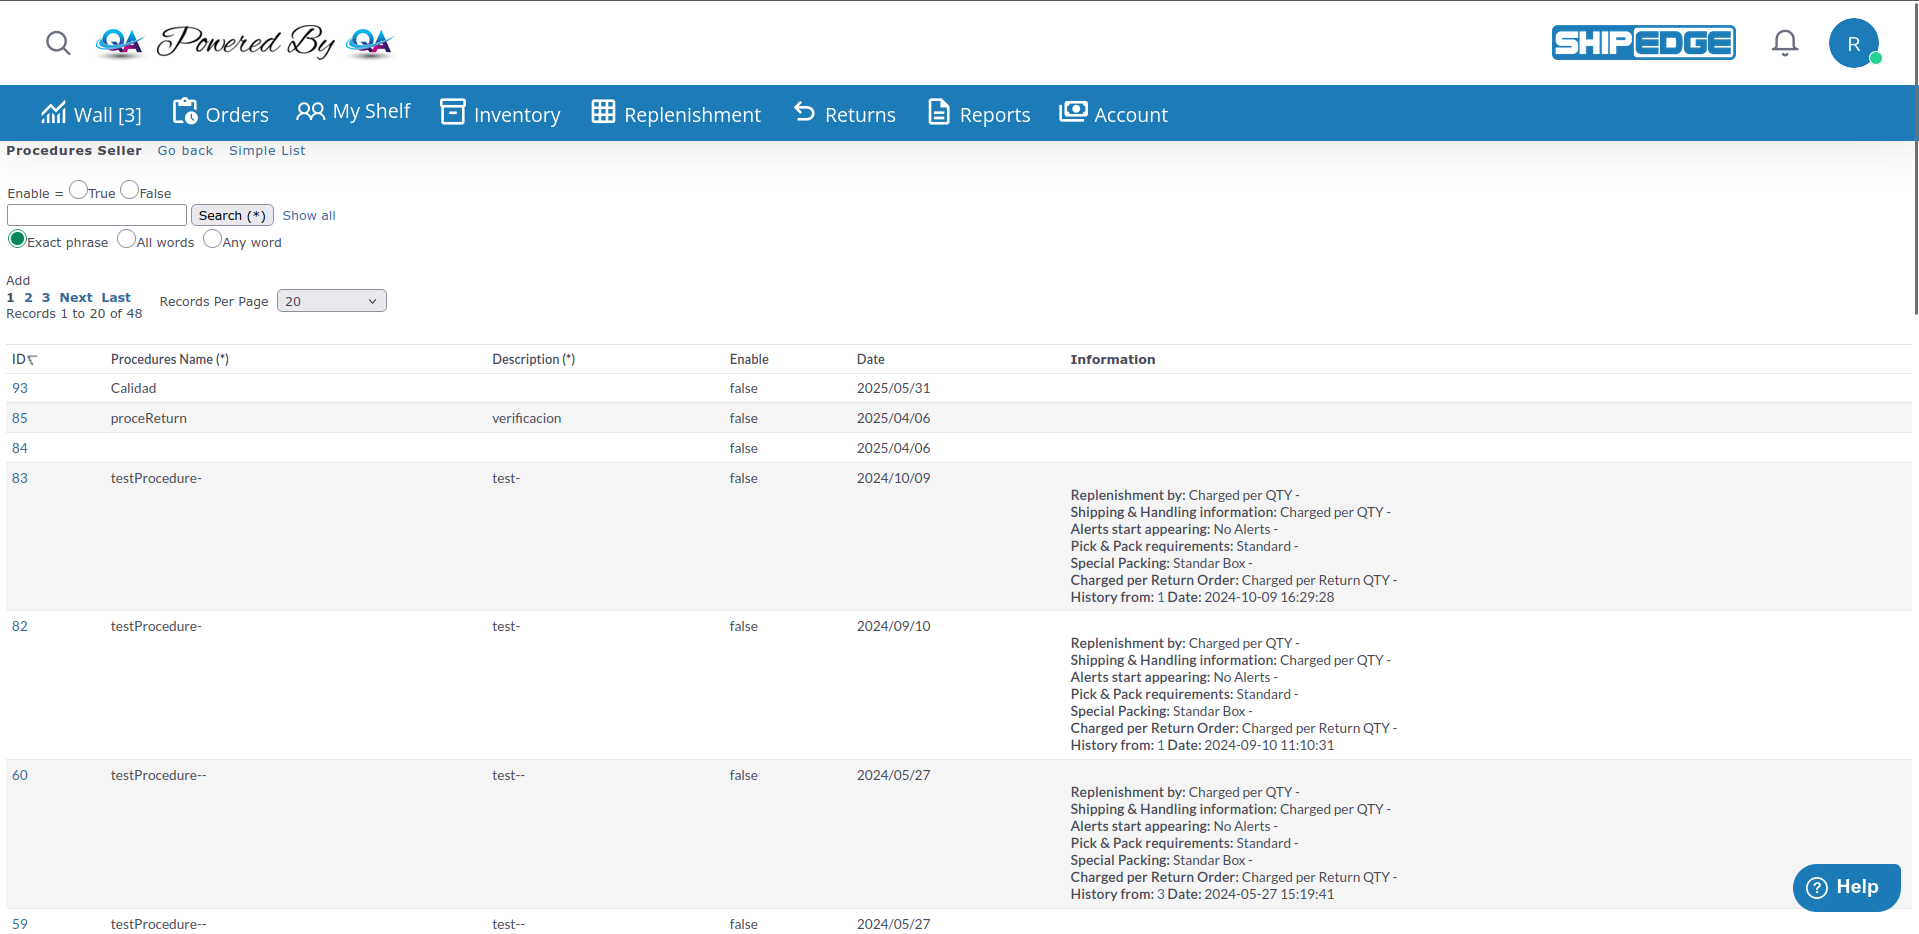
View your procedures
You’ll see a list of all procedures with their ID, Name, Description, Enable status, Date and Information.
Click Add
Click the Add button at the top of the Procedure List page.
Enter procedure details
Choose SKU assignment method
Click Add
Click the Add button to create the procedure.
Click the procedure ID
From the Procedure List, click the ID number of any procedure.
Review information
The procedure view shows:
Access related functions
From this view, you can:
To create a new procedure based on an existing one:
Open the source procedure
Click the ID number of the procedure you want to copy.
Click Duplicate Procedure
This creates a copy of the procedure with all its settings.
Modify the copy
Update the name, description, and any other settings as needed for the new procedure.
When orders move from Pending to Processing, the system checks if any items belong to enabled Procedures:
Prevents mixing Label Ready items with other items in the same box.
Ensures items from this procedure are not mixed with items from other procedures.
Separates items based on their package type during packing.
Applies maximum weight restrictions for boxes containing these items.
Procedures can have characteristics assigned to them:
These characteristics are evaluated during order processing to apply appropriate rules and charges.
Name classes clearly to indicate their purpose (e.g., “Hazmat Items”, “Oversized Products”).
Set Enable = false for procedures you’re not currently using to avoid processing delays.
Create and configure a procedure with Enable = false, test thoroughly, then enable it.
Use the Description field to explain what rules this procedure applies and why.
Periodically review your procedures to ensure they’re still needed and configured correctly.
The Procedure List page provides search capabilities:
Problem: Orders are not following the rules set in a Procedures.
Solutions:
Check Enable status
Make sure the procedure has Enable = true. Disabled procedures are not evaluated during order processing.
Verify SKU membership
Confirm the SKU is actually part of the procedure. Click the procedure ID and review the SKU list.
Check for conflicts
If a SKU belongs to multiple procedures, the system may prioritize one over another based on processing rules.
Review procedure characteristics
Ensure the characteristics (features) are properly configured for the desired behavior.
Problem: Unable to add SKUs to a Procedure.
Solutions:
Check if Default is enabled
If “All SKUs by Default” is enabled, you cannot manually add/remove SKUs - the procedure automatically includes everything.
Verify permissions
Make sure you have permission to edit the procedure and manage SKUs.
Check SKU existence
Confirm the SKU exists in the system before trying to add it to a procedure.
Problem: Orders are taking longer to move from Pending to Processing after adding procedures.
Solutions:
Review active procedures
Too many enabled procedures can slow processing. Disable procedures you’re not actively using.
Simplify characteristics
Complex characteristic configurations take longer to evaluate. Simplify where possible.
Problem: Accidentally deleted a Procedure.
Solution: Unfortunately, deleted procedures cannot be recovered. You’ll need to recreate the procedure and its configuration manually. This is why it’s important to document your procedure settings.
Next Steps:
See Also: