Centralized Management
Manage all billing carrier information from one place. View all configured carriers in an organized table.
3PL Carrier Management allows you to manage billing carrier information for third-party (3PL) services. This functionality is essential when you need to configure carrier accounts like UPS or FedEx that will be used to bill shipments to external customers.
This tool allows you to view, edit, and manage all billing carriers configured for your account, including contact information, addresses, and carrier account numbers.

Manage all billing carrier information from one place. View all configured carriers in an organized table.
Keep contact information, addresses, and carrier account numbers (UPS, FedEx) updated for accurate billing.
Activate or deactivate carriers as needed and configure whether account numbers should appear on packing slips.
See when carriers were created and updated, and which integration they come from (Source).
Navigate to Menu
From the main menu, go to Orders and then select Integration.
Open 3pt Management
In the Integration dropdown menu, click “3pt Management”.
View Main View
The “Third-party/3pt billing management” page will open with a table showing all configured billing carriers.
The main table shows all billing carriers configured for your account with the following information:
You can filter results using the search fields in the second header row:

Select the Carrier
In the table, locate the carrier you want to edit using search filters if necessary.
Open Actions Menu
Click the button with three vertical dots (⋮) in the actions column of the carrier you want to edit.
Select Edit
In the dropdown menu, click “Edit”.
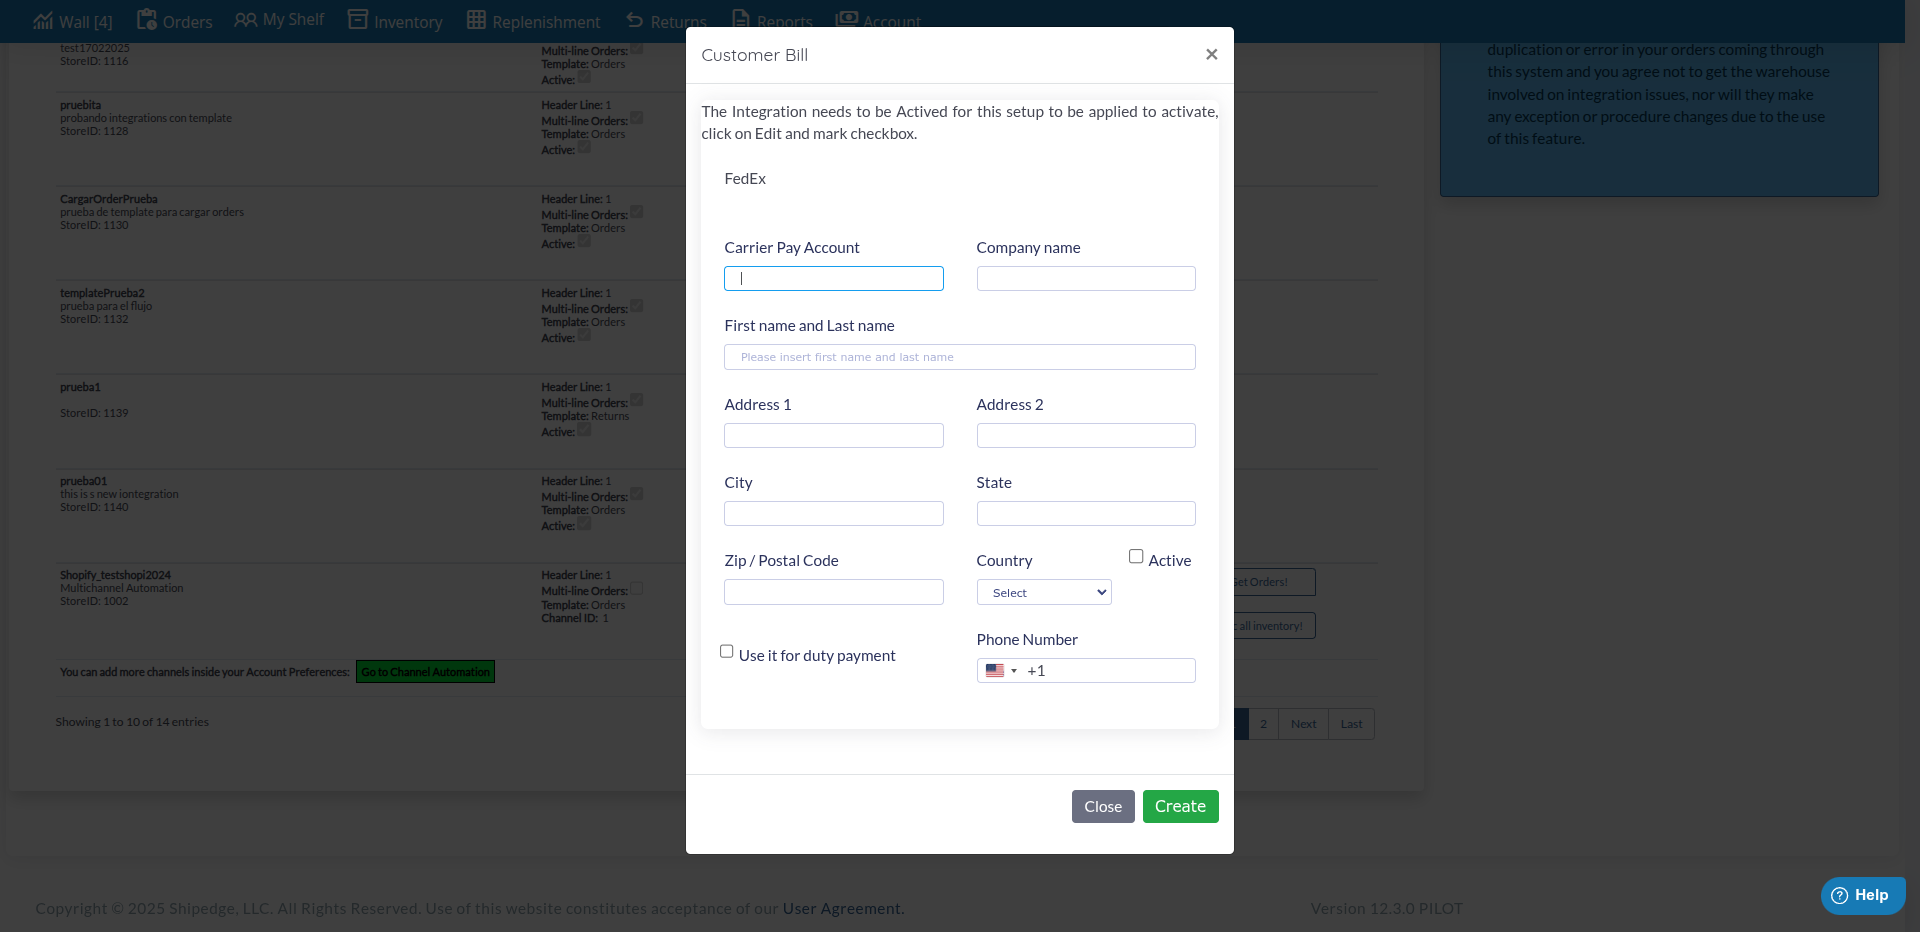
Complete the Form
A modal with the edit form will open. Complete or modify the following fields:
Save Changes
Click the Update button to save modifications.
Confirmation
You’ll see a success message confirming that the update was completed successfully. The table will automatically update with the new data.
New billing carriers are created from the Integrations view using the “3PT Configuration” option:
Go to Integrations
From the main menu, go to Orders > Integration.
Find the Integration
In the integrations table, locate the integration for which you want to create a billing carrier.
Open 3PT Configuration
Click the actions menu (⋮) of the integration and select “3PT Configuration”.
Complete the Form
Complete all required fields to create the new billing carrier.
Save
Click “Create” to create the carrier. The new carrier will automatically appear in the 3PL Carrier Management view.
Periodically review carrier information to ensure addresses and account numbers are up to date. This ensures accurate billing.
Use clear and descriptive company names to make it easy to identify each carrier in the table.
Keep active only carriers that are currently in use. Deactivate old or unused carriers to avoid confusion.
Check the “Add Acc# To Packing Slip” option for carriers where customers need to see the account number on shipping documents.
Problem: You created a carrier from 3PT Configuration but it doesn’t appear in the view.
Solution:
Problem: The edit button doesn’t appear or doesn’t work.
Solution:
Problem: You click “Update” but changes don’t apply.
Solution:
Next Step: Shipping & Rates Overview - Configure shipping methods and rates