Secure Access Control
Control who can access sensitive features like billing, user management, and system preferences. Proper permissions protect your business data.
ShipEdge Core uses a role-based permission system to control access to features and functions. Understanding user types and permissions helps you manage your team’s access and ensure the right people have the right permissions.
Control who can access sensitive features like billing, user management, and system preferences. Proper permissions protect your business data.
Assign appropriate roles to team members based on their job functions. Warehouse users, processors, and managers each need different access levels.
Grant access only to features each user needs. This reduces confusion and helps team members focus on their specific tasks.
User permissions create clear audit trails. You can track which users performed which actions in the system.
ShipEdge Core has three main user levels:
Seller users manage orders and inventory for their accounts. They have two subtypes:
Seller users typically work with:
Warehouse users handle warehouse operations and fulfillment. They have two subtypes:
Warehouse users typically work with:
System administrators have full system access across all accounts and warehouses. They manage:
Each warehouse user can have specific view and operation permissions:
Preferences View (PreferencesViewWH)
Orders View (OrdersViewWH)
Inventory View (InventoryViewWH)
Billing View (BillingViewWH)
Manager (UserWH = 1)
Allow Corrections (allow_recount)
Default (User_type = 0)
Receiving (User_type = 10)
Processor (User_type = 11)
Navigate to Preferences Settings
Click Preferences in the main navigation menu. The Preferences Settings page opens.
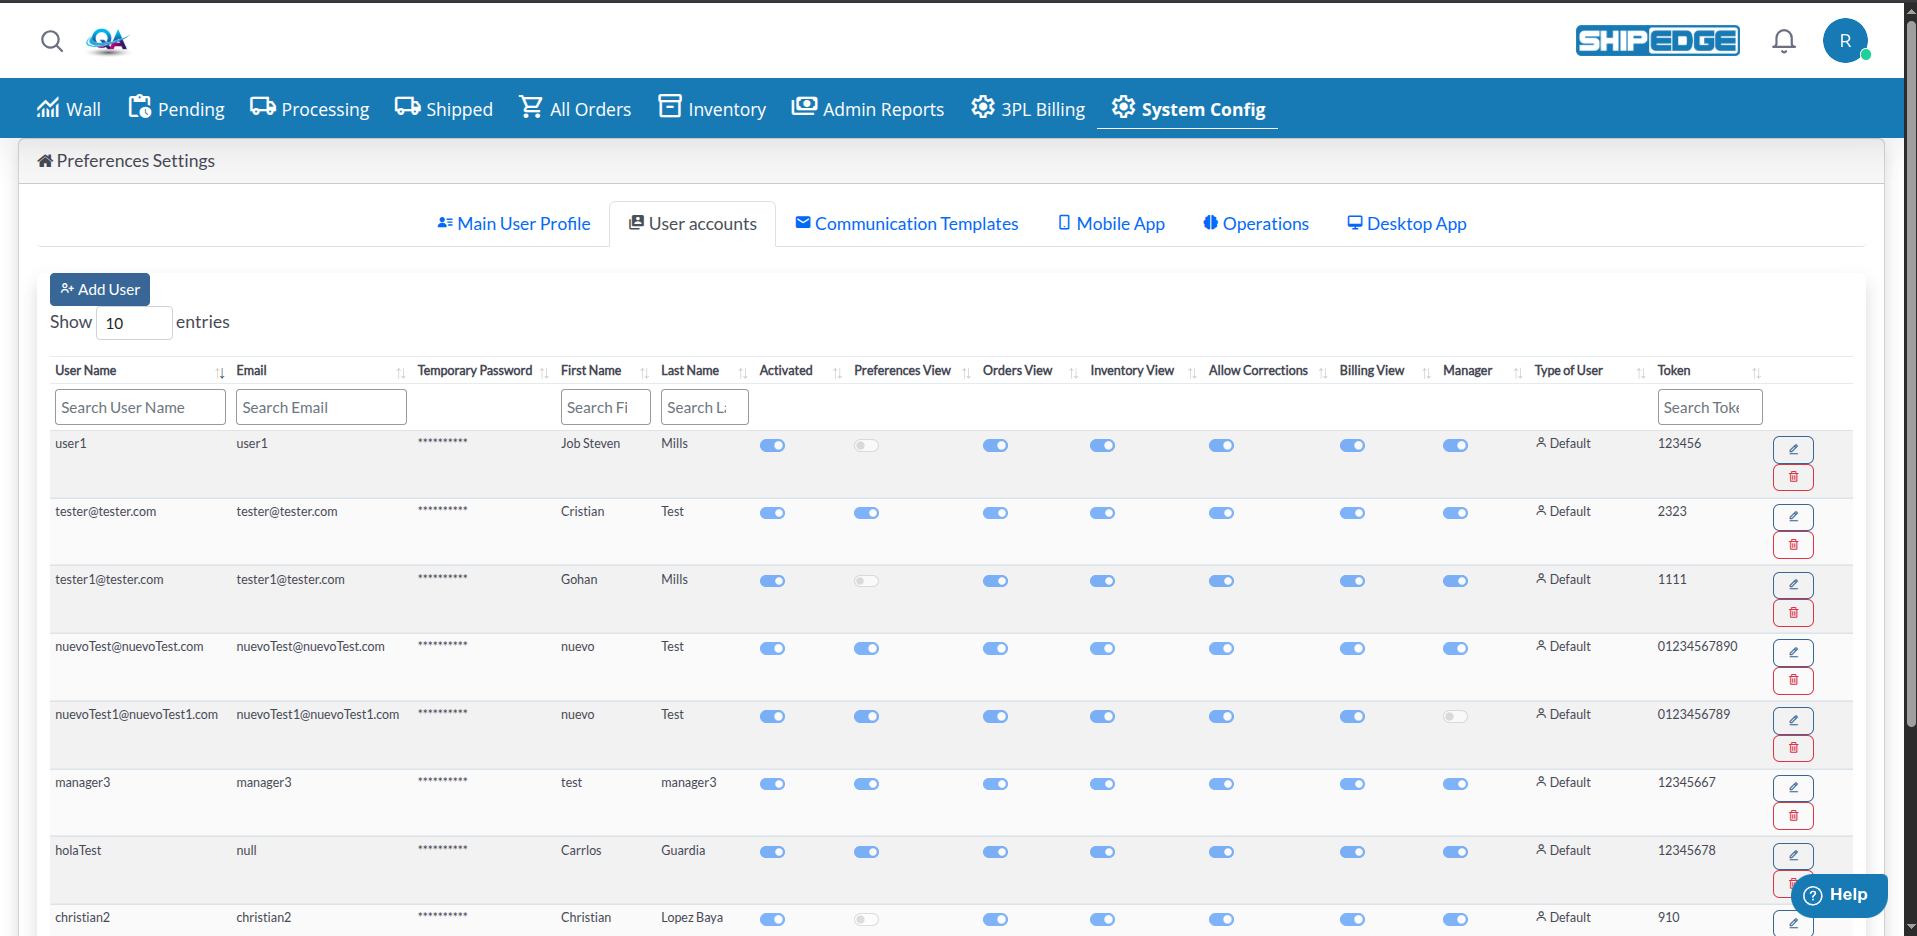
Open User Accounts Tab
Click the User accounts tab. You’ll see a table listing all warehouse users.
Add a New User
Click the Add User button. A modal form opens for entering user information.
Enter User Information
Fill in the required fields:
Configure Permissions
Set the appropriate permissions using the toggle switches:
Set User Type
Select the user type role:
Save User
Click Save changes to create the user account. The system validates the information and creates the account if all requirements are met.
Open User Accounts
Navigate to Preferences Settings > User accounts tab.
Find the User
Use the search filters at the top of each column to find the user you want to edit.
Click Edit
Click the edit icon (pencil) next to the user’s row. The user form modal opens with current information.
Update Information
Modify any fields as needed:
Save Changes
Click Save changes to update the user account.
Open User Accounts
Navigate to Preferences Settings > User accounts tab.
Find the User
Use search filters to locate the user account.
Click Delete
Click the delete icon (trash) next to the user’s row.
Confirm Deletion
Confirm the deletion in the popup dialog. The user account is marked as deleted (soft delete) and removed from active users.
User passwords must meet these requirements:
The system validates passwords in real-time as you type. The password field shows validation status.
Only grant Preferences View access to trusted managers. Having multiple users with this permission can cause conflicts and security issues.
Assign permissions based on job functions. Receiving specialists don’t need Orders View, and processors don’t need Billing View.
Always use unique tokens for each user. Tokens are used for API access and system integrations.
Periodically review user permissions. Remove access for users who no longer need it or have changed roles.
Enforce strong password requirements. Use the system’s password validation to ensure secure passwords.
Create user accounts first, then activate them when users are ready to start. This prevents unauthorized access.
Problem: User reports they cannot see certain features or pages.
Solution:
Problem: Cannot change User Name or Email for a Manager account.
Solution: This is by design. Manager accounts have restricted editing to protect administrative access. Contact system administrator if changes are needed.
Problem: Password meets requirements but system rejects it.
Solution:
Problem: Error message says token is already in use.
Solution: Each user must have a unique token. Change the token to a different value. Tokens are used for API access and must be unique across all users.
Problem: Created user account doesn’t appear in the list.
Solution: